There’s a lot of great React Native modules out there, but most of them require a custom iOS or Android build, leaving “ejecting” as the only option for Expo users. That changed in SDK >42, when Expo added the ability for Expo Application Services to create custom development builds of your app.
What’s a custom development build? It’s not just any Expo Go app, it’s your Expo Go app; complete with any React Native module you ever wanted, all without ever having to hit the eject button.
And now that Expo 43 includes React Native 0.63, Flipper by Facebook is available by default; there’s no better time to ditch the old “Chrome Developer Tools” way of debugging your React Native app. Not only will you gain access to device information and crash logs, you’ll also have Flipper’s amazing plugin library. Everything from Apollo to Redux debuggers are in there.
If you’d like to skip to the end result, check out the jakobo/expo-cdc-example repo as that’s what we’ll be building towards.
Overview
- Configuring your code for EAS
- Creating a development build of your app
- Connecting to your app via Flipper
- Final considerations
Create an EAS-Friendly Expo App
We’re going to start our journey by making a run-of-the-mill Expo application (install Expo CLI if needed with npm install -g expo-cli). When we run expo init -t expo-cdc-example, we’ll be given a standard Expo application, configured for Typescript. If you would prefer vanilla JavaScript, just omit the -t option. The result (minus our hidden folders and our lockfile) looks like this:
/
|- assets
|- app.json
|- App.tsx
|- babel.config.js
|- package.json
|- tsconfig.json
From here, we can run expo start and view our Expo app. We could also build locally, but what we’re really looking for is to let someone else do all the work for us. This is doubly true if we’re developing on Windows, as XCode isn’t even an option for making an iOS app. Enter Expo Application Services (EAS).
EAS lets you use Expo’s hardware to build your iOS/Android application, and has its own CLI. You can use EAS for building non-expo applications as well, so the EAS cli isn’t bundled with Expo. We’ll need to install it globally like we did with our expo-cli.
npm install -g eas-cli
Let that run, and you’ll have a new eas command available. The EAS CLI doesn’t have an init command, and while running the eas build command will generate the configuration file for us, we’ll have greater control if we create the file ourselves. Create a file named eas.json in your application root and copy/paste the following configuration in:
{
  "cli": {
    "version": ">= 0.34.0"
  },
  "build": {
    "base": {
      "env": {}
    },
    "development": {
      "extends": "base",
      "developmentClient": true,
      "distribution": "internal",
      "releaseChannel": "default",
      "android": {
        "buildType": "apk"
      }
    },
    "production": {
      "extends": "base",
      "distribution": "store",
      "releaseChannel": "stable",
      "android": {
        "buildType": "app-bundle"
      }
    }
  }
}
This sets up EAS to build something we’ll call a “preview” build. It will behave just like our production app, but it’s claimed ownership of the default release channel. By utilizing releaseChannel: "default" in our development build, and not our production builds, we can make sure that an accidental expo publish doesn’t push code to our live application. There’s a lot more to eas.json than we’re covering in this article, but the above is enough for us to launch our builds. If you’re already using the default channel for your app store releases, you can change value of the releaseChannel property.
We can now tell EAS to build our app. We’ll want to specify our build profile preview as part of the command.
If this is your first time running EAS, you’ll want to associate any iOS devices with your ad hoc provisioning profile. You can follow the steps in the Expo documentation, or just run eas device:create and follow the prompts. To generate our build, we just need to run eas build --profile=preview.
EAS will be off building things, and you can go get a cup of coffee. ☕
After a while, you’ll have a shiny build that you can install on your iOS/Android device! EAS runs in the background too, so no need to wait for a build to finish, you can get back to coding.
Configuring EAS For a Development Build
So far, we’ve created an Expo app, we’ve configured EAS, and we’ve kicked off a custom build. But EAS doesn’t just let you make custom production builds, it lets you make development builds too! That’s right, it is your own Expo Go, with your own modules. And we’ll be using EAS to build it.
Enabling a development builds means creating a new profile in our eas.json. These additions should go alongside your preview build.
{
  "build": {
    // ...
    "devclient": {
      "extends": "base",
      "releaseChannel": "default",
      "distribution": "internal",
      "developmentClient": true,
      "android": {
        "buildType": "apk"
      },
      "ios": {
        "simulator": true
      }
    }
  }
}
Our new profile, devclient adds a few EAS options. The developmentClient flag tells EAS that we want a custom build of the Expo development app, and the ios.simulator field tells EAS not to create an iOS app, but a bundle that’s designed for the iOS Simulator.
Now, kick off your new build and go get more coffee. ☕
eas build --profile=devclient
When that finishes up, you’ll have a custom simulator build. When you install that on your simulator and launch it, it will look different than your usual Expo Go app.
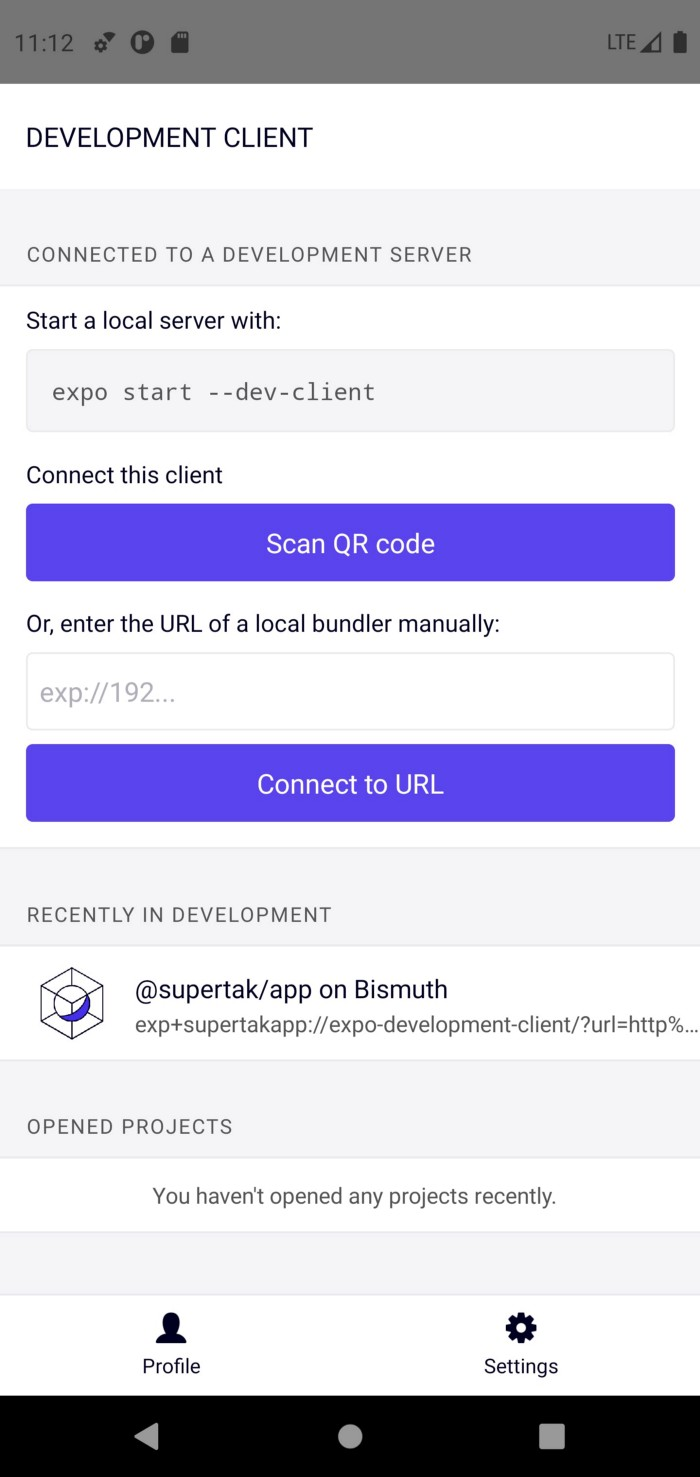
The Expo Custom Development Client launch screen
Instead of the usual expo start command, it tells us our app needs to be started with the --dev-client flag, so let’s do that. Stop your expo start if it’s running, and restart it with expo start --dev-client.
The project will show up in your development build with a URL structure of exp+<project>://expo-development-client/…. The exp+<project> protocol helps the native OS tell the difference between your custom Expo app and any others you might have on the simulator or device.
So long, Expo Go, hello Development Builds. 💅
Hello Native Modules, Hello Flipper
All of the above setup needs to be done exactly once, and the payoff is huge. We’re going to get a better debugger for React Native, called Flipper, by Facebook. Go download the app, and we’ll set up our development build to use this native module.
First, we’ll need to install Flipper and its dependencies, which is a straightforward pair of command: expo install react-native-flipper react-devtools-core for our expo related code and yarn install expo-community-flipper for our build plugin we'll be using later.
Then, we’ll need to tell our App to connect to Flipper in our App.tsx file:
// App.tsx
import { connectToDevTools } from "react-devtools-core";
if (__DEV__) {
  connectToDevTools({
    host: "localhost",
    port: 8097,
  });
}
Since we’ve added a new native module, we’ll need to create a new development build that has our native iOS and Android code bundled in. Because Flipper also requires changes to our app’s Podfile, we’re also going to make use of Expo’s Config Plugin system. Because we already installed the community Flipper plugin, it's as easy as adding the plugin to our app.json.
{
  "expo": {
    // ...
    "plugins": ["expo-community-flipper"]
}
One last time (and one last ☕): eas build --profile=devclient
Install the new build on your simulator, open up the Flipper App and it just works 🤯
You can repeat this for any Native Module you want, though Flipper is an excellent starting point since it lets you use react-native-reanimated v2 with TurboModule support, frees you from the built-in Chrome debugging tools, gives you crash logs, and more. Just remember that you’ll need to create a new development build when you add a new module, or make judicious use of try/catch blocks to ensure you don’t throw an error.
Keep Building From Here
This is just the start of what you can do with Expo’s development builds and Native Module support. Most Native Modules will work out of the box in a development build thanks to React Native’s autolinking, but if you do need custom changes to your Info.plist or Manifest.xml files (or even editing a Podfile like we did today), Expo can take care of that too as part of the build process. These config plugins let you modify the plist and manifest without ejecting your app and are configured from within your app.json.
If you still run into issues, there’s an #EAS channel on the Expo discord and the Expo Forums have an entire section dedicated to EAS.